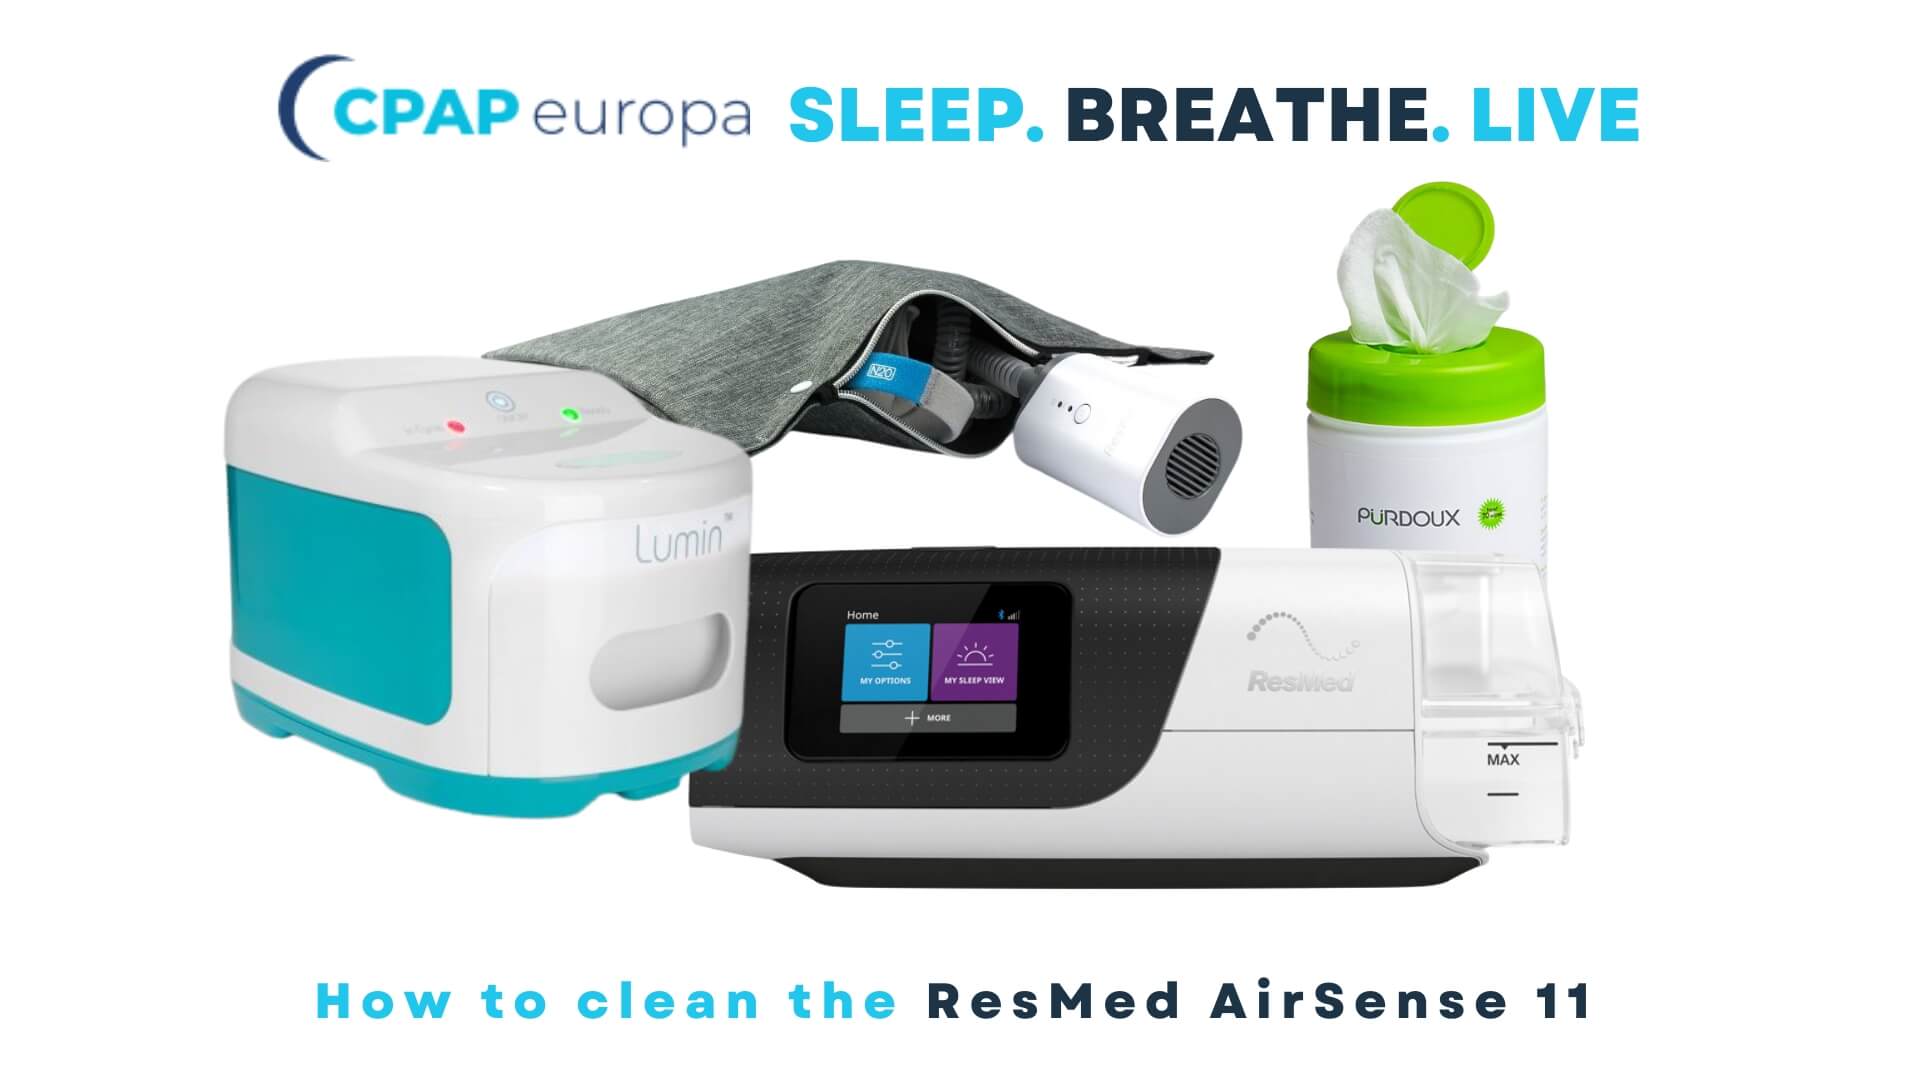
Wondering how to properly clean your brand new ResMed AirSense 11 CPAP? Maybe you just started using the brand new white-and-black beauty of a CPAP, but it is already a bit dirty and you want to care for it the right way. Today we will tell you everything you need to know about all the safe ways to clean your CPAP without voiding its warranty or damaging its parts. It actually is really simple. And the benefits from cleaning your expensive CPAP equipment are not only protecting your investment, but also ensuring optimal sleep apnea therapy and general health.
Here’s how you can clean the ResMed AirSense 11 CPAP
PREPARATION
- Always unplug the machine before cleaning. Important: Ensure all parts are dry before plugging it back in;
- Disassemble the humidifier from the main unit (if you initiate the cleaning soon after using your AirSense 11, allow the humidifier to cool before removing it from the AirSense 11);
- Open the humidifier tub and discard any remaining water;
- Gently plug away the hose attached to the back of the AirSense 11 CPAP device;
- Disconnect the air tubing from the mask;
- Locate the outlet connector on the inside of the AirSense 11 and release it. Remove the connector from the outside of the device.

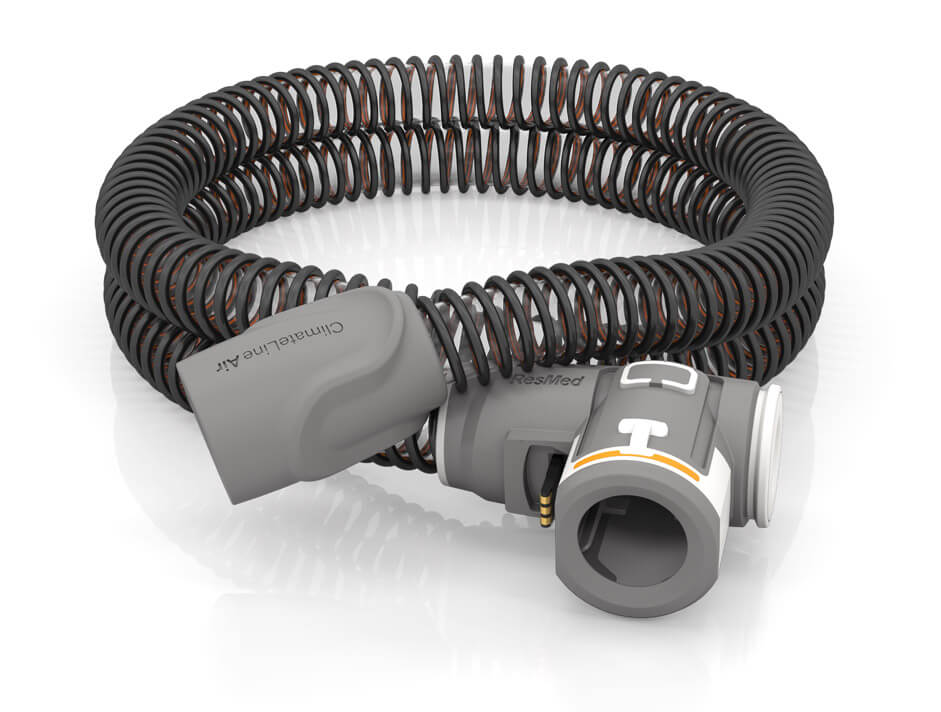
ResMed AirSense 11 CPAP ClimateLineAir Heated Tube
THE TUBING
After removing and emptying the humidifier, wash the AirSense 11 Standard Water Chamber (Humidifier) air tubing and outlet connector in warm water, using mild, liquid soap.
Important: do not use hot water when cleaning the AirSense 11 parts. Use warm water instead. The temperature of the water should not exceed 65 C or 149 F.
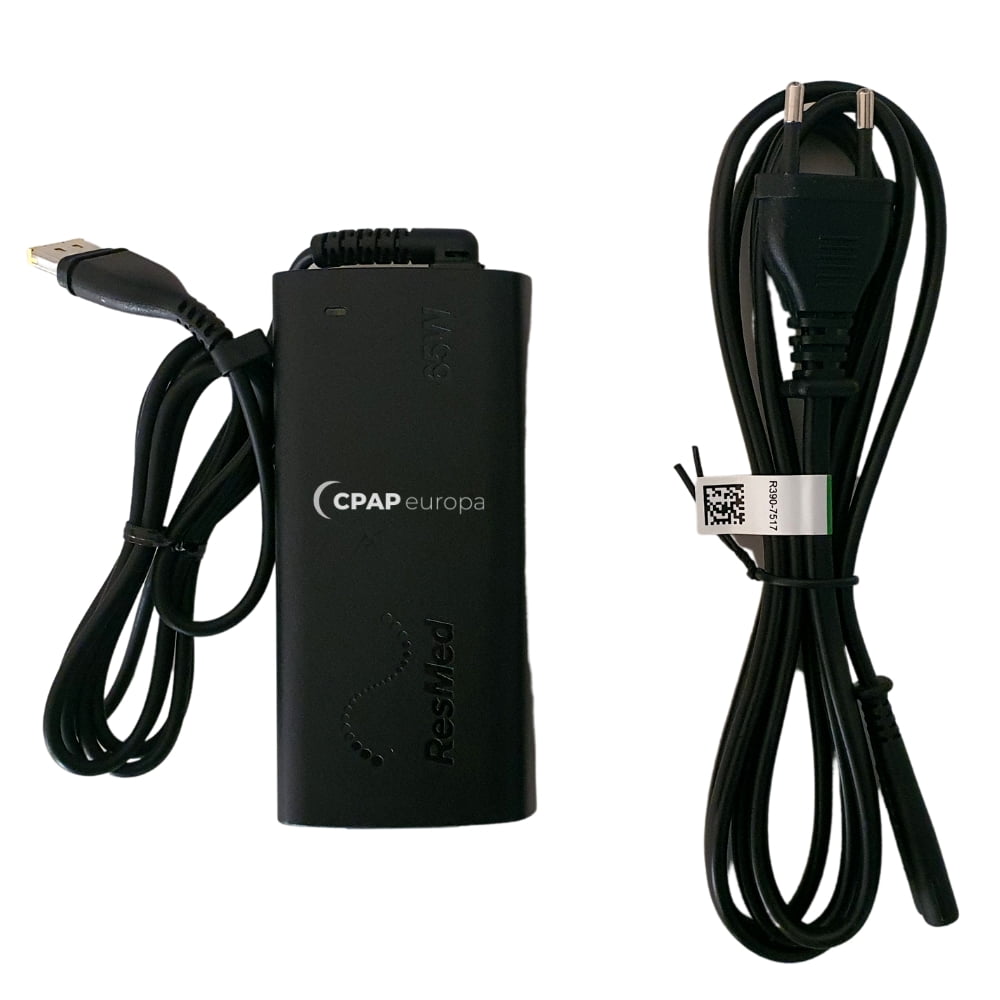
Do not clean the power cord, especially with water and other liquids.

Resmed AirSense 11 CPAP AC Power Supply Cord
RINSING AND DRYING
Be sure to rinse each component thoroughly. When you’re done cleaning the important parts, allow each component to dry out of direct sunlight or direct heat.
When the humidifier, air tubing and outlet connector are dry, you can reassemble the components, re-attaching them to the main AirSense 11 device.
Make sure the outlet connector is correctly aligned when plugging it back to the device. The seal should point directly to the left and the clip pointing forward. You will hear a satisfying click when you plug the connector back into the socket. Connect the air tubing firmly to the connector you just re-attached back the to the AirSense 11 device.

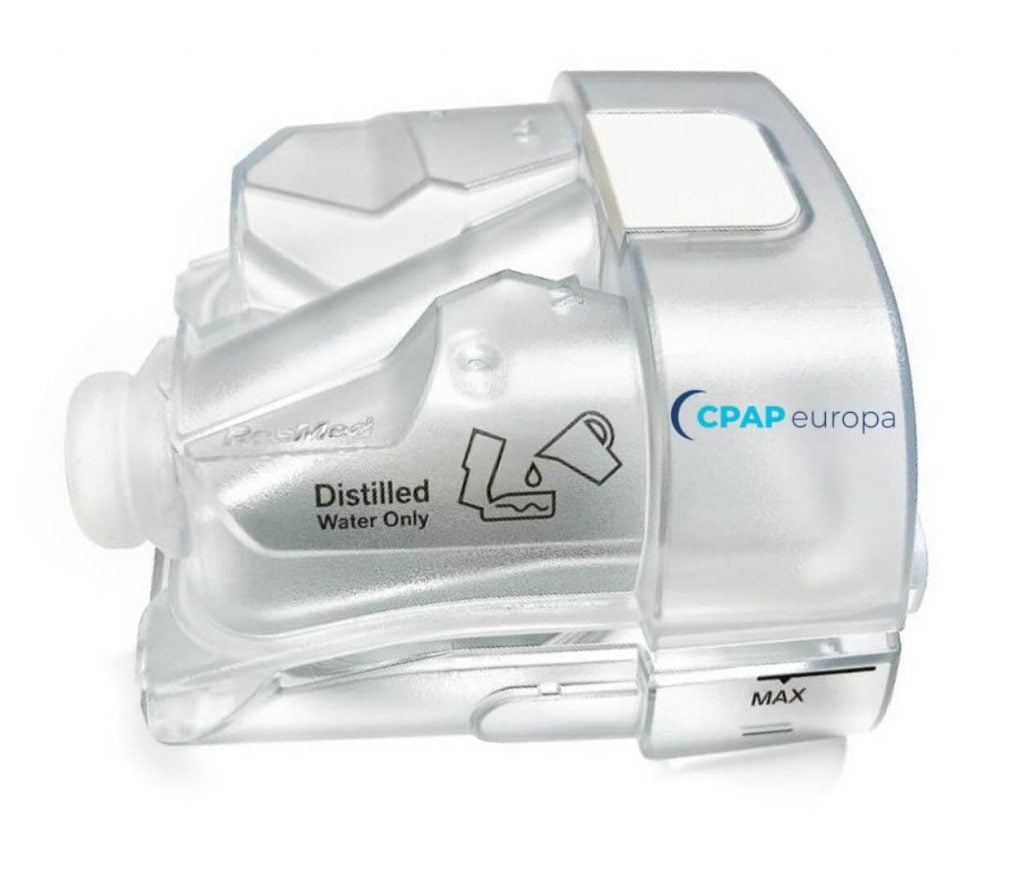
AirSense 11 Water Chamber (Humidifer)
BEFORE REATTACHING THE HUMIDIFIER
Open the humidifier tub and fill it with distilled water at room temperature. (Do not use tap water to ensure proper functioning of the device and avoid gradual damage over time). Fill the humidifier to the maximal water level mark. Close the tub and insert it back to the device.
CLEANING THE AIRSENSE 11
You can wipe the exterior of the AirSense 11 device with a clean cloth or CPAP wipes. Needless to say, avoid exposing the device to water.
- Remove dirt and dust components using a solution of 1 part household vinegar to 10 parts water;
- Regularly inspect the air tubing and humidifier for any cracks or surface damage. Replace them if you find cracks or deterioration.

Shop AirSense 11 BUNDLES Complete sets: CPAP+Mask+Humidifier)
TIME FOR THE FILTER
Regularly check the AirSense 11 air filter and replace it if you find any holes or blockages. The AirSense 11 filter should be otherwise replaced every six months to avoid bacterial or fungal buildup while also ensuring its proper functioning. Replacing the filter is a child’s play: simply remove the cover on the back of the device and remove the dirty filter. Place a new air filter on the designated space on the cover, and place the cover.
Please note: The AirSense 11 air filter is not washable or re-usable, and should be changed when damaged or on schedule every six months.

ASSEMBLING IT ALL BACK TOGETHER
After all of the components have dried off, assemble the machine carefully. Plug everything back the way you disassembled it, and only then plug the AirSense 11 to its power source. Repeat the procedure weekly to reduce the likelihood of you getting sick while ensuring that you always enjoy cleaner air when using the AirSense 11.
USING A DEDICATED CPAP CLEANER DEVICE
Did you know there are cheap CPAP machines and dedicated CPAP cleaners that do all of the above-mentioned CPAP sanitizing for you? All you have to do is put the CPAP, mask or mask parts in a box, wait for 5 minutes and take them out of the ‘oven’ clean and shiny! With Lumin CPAP Mask and Accessories Cleaner all you need to do is just that — unplug your AirSense 11 from the power supply, put in inside the Lumin, and take it out clean! 3B Lumin CPAP cleaner utilizes UV-C light to kill bacteria, viruses and mold from CPAP equipment in a matter of minutes. You can read more about Lumin and purchase it here.

Hopefully, this AirSense 11 cleaning guide was useful and answered your questions. Should you have any additional questions about maintaining the new ResMed CPAP the right way, please do not hesitate to ask us directly via the chat! We are here to help!
SLEEP. BREATHE. LIVE
CPAPeuropa
 4.8 out of 5 based on 182 reviews
