Posted on Leave a comment

How to properly clean your CPAP mask

How to clean your CPAP mask - Warm water and mild soap

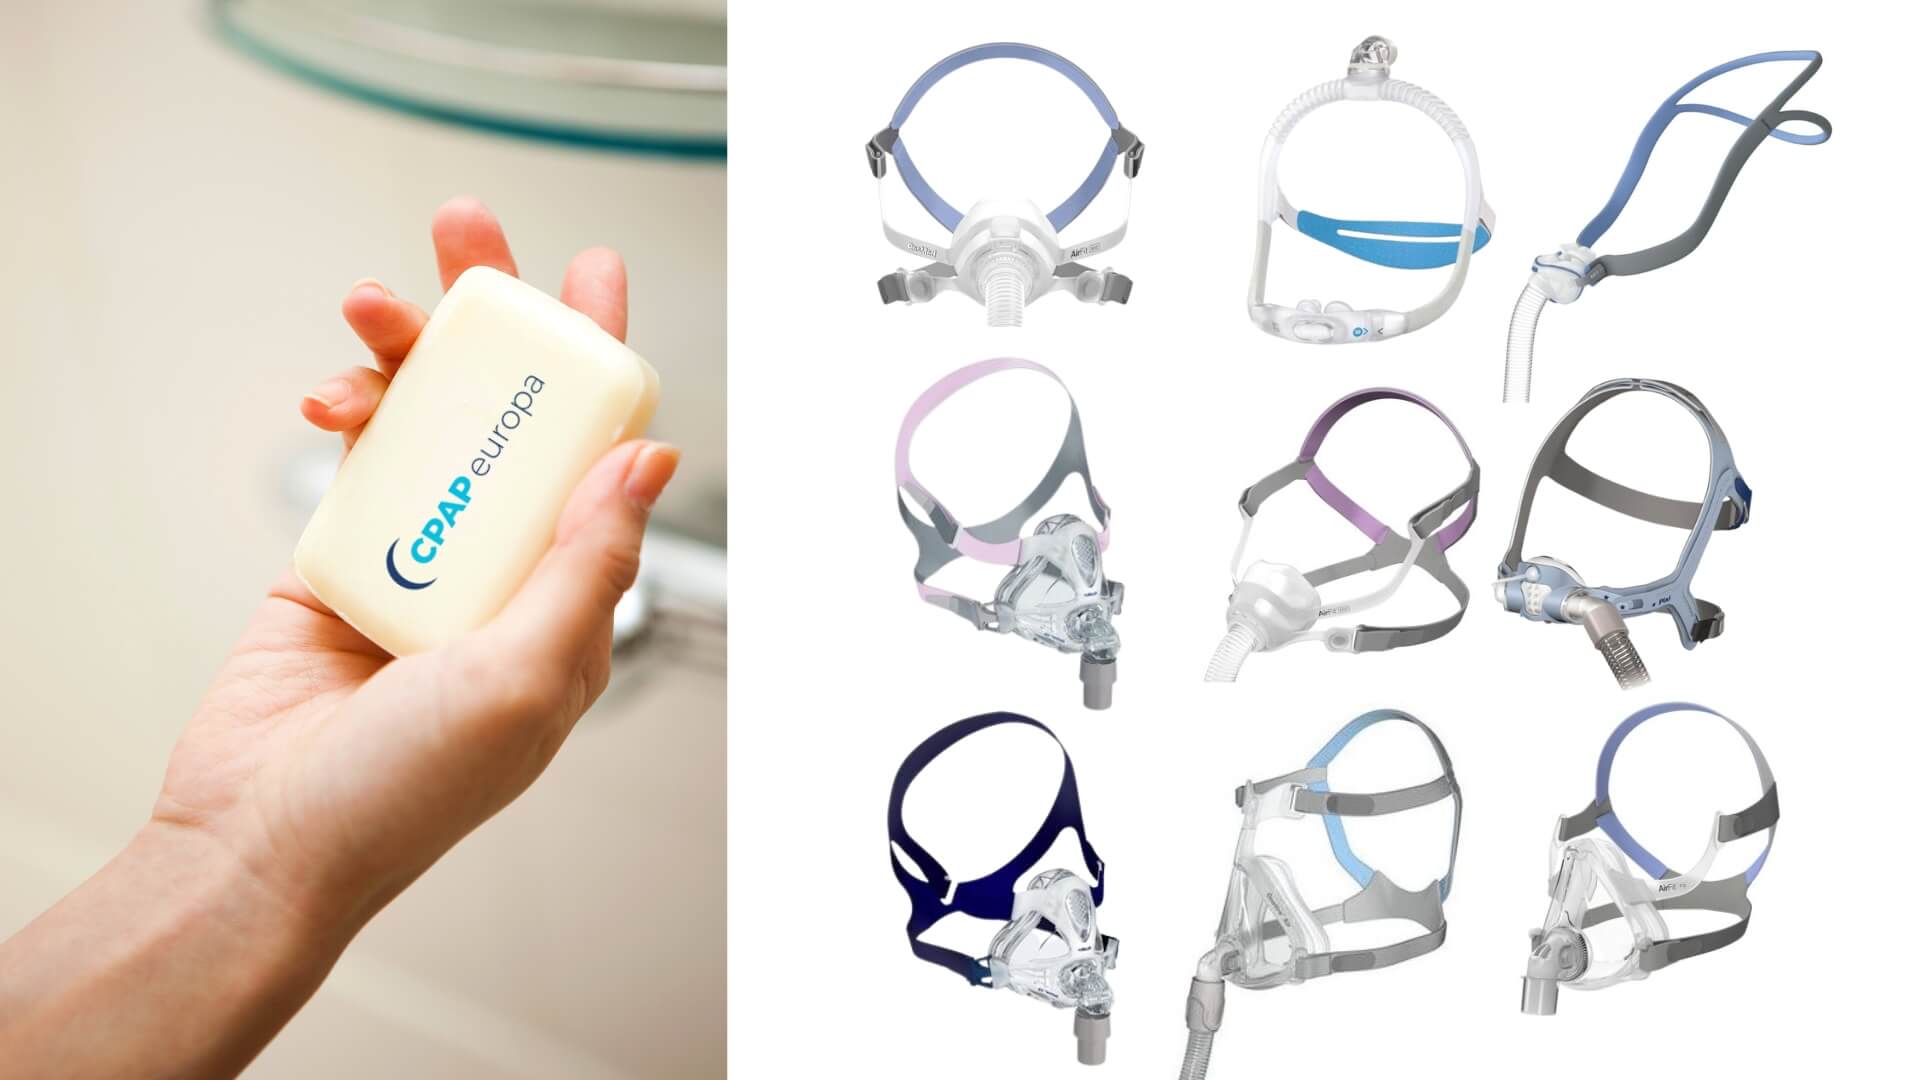
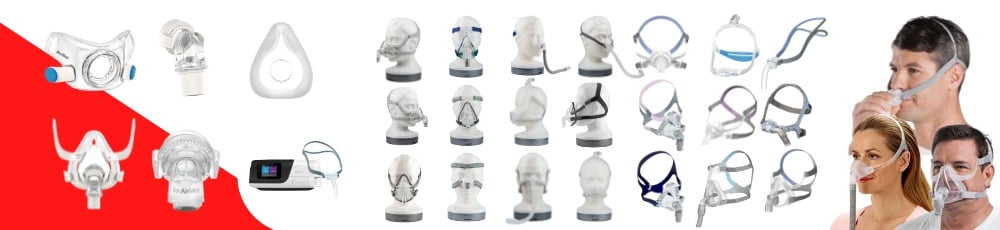
Cleaning your CPAP mask – including the tube, connectors, cushions, headgear and clips – can mean the difference between successful sleep apnea therapy and an unsuccessful one. CPAP hygiene is key for your general health as well. Not to mention that it will prolong the life of your expensive mask. Here’s a step-by-step guide as to how to clean your CPAP masks the right way.


CPAP Mask: Step by step cleaning

Disassemble the mask carefully before beginning the cleaning process itself, especially if you need to clean thoroughly the cushion and elbow.

  • Gently detach the headgear from the mask;
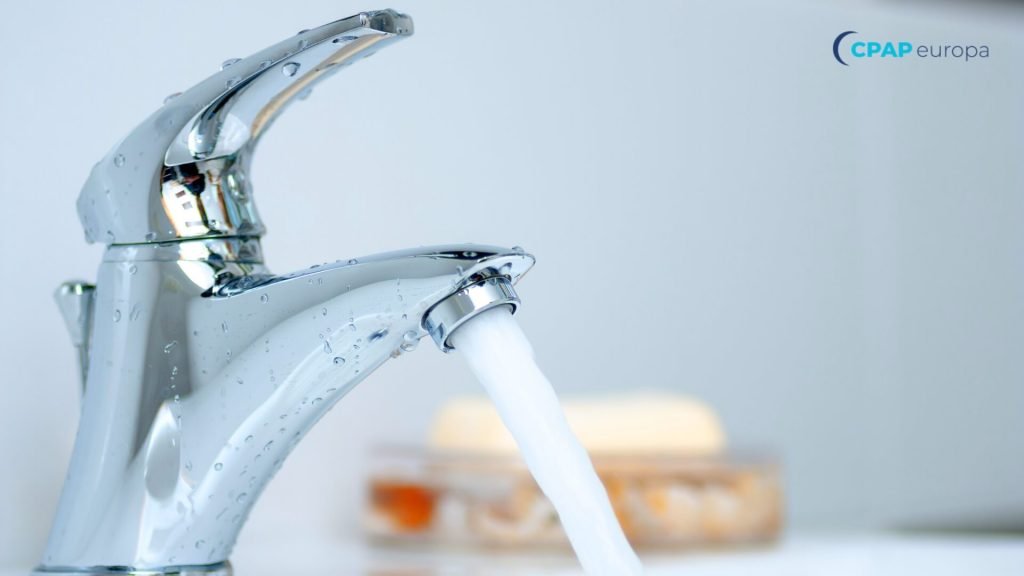
  • Wash the headgear under the sink with warm water and mild soap;
  • Rinse the headgear and allow it to dry completely before reattaching it (let it dry the entire day if needed; it will be ready for the next time you go to sleep);
  • Thoroughly clean the cushion with warm water, mild soap and a towel or a CPAP wipe. Remove all of the dirt and other debris inside it;
  • Wipe the surfaces of the mask with CPAP wipes;
  • Let it air dry fully.

Even with proper care your mask and headgear will probably need to be replaced after about a year.


What to you use to clean your mask?


Mask & Mask CushionTubingHumidifier ChamberFilters
Mild SoapYesYesYesYes
WaterYesYesYesYes
VinegarNOYESNOYES


Warm water and mild soap


To clean your masks properly and without damaging it, you can use a simple solution – mild soap. Probably the only thing you need to do the job right! The emphasis here is on mild. Synthetic soaps won’t do the tick as they contain higher concentrations of pH, which can cause skin irritation and even breakouts.


Mild soap is what you need for the task of cleaning your CPAP equipment as it is non-toxic and odorless. And, it will NOT damage the silicone parts of your mask, unlike strong synthetic soaps.


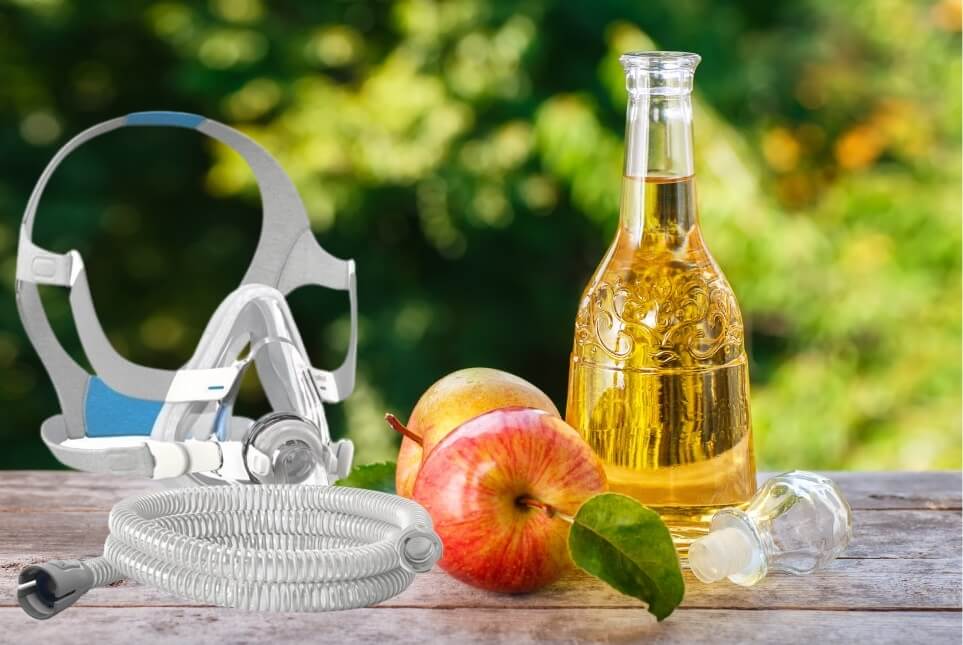
The mighty lord vinegar: king of salads and CPAP sanitization


It may sound strange, but vinegar is a mighty natural disinfectant that can terminate harmful germs and bacteria in and over your CPAP mask, inside the tubing, silicone cushions and even humidifier.
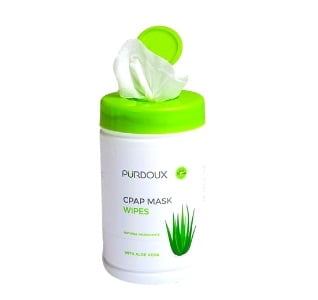
 

How to clean your CPAP mask with vinegar


Towel or CPAP wipes


When warm water and mild soap are simply not enough to scrub away those oil spots and other dirt deposits over your masks, for example, you can use a towel or CPAP wipes to do that. Use a microfiber towel to avoid any lint particles remaining on your masks or tubing. You don’t want to inhale these later when you go to sleep and put your freshly cleaned CPAP mask on.


How to clean your CPAP mask with CPAP wipes


To clean or to replace?


In addition to regular cleaning it is highly recommended that your finally replace your CPAP mask when it’s time to do so. Most masks, tubings and filters should be replaced every three months and even sooner if you have been sick while using them.

You should replace your mask or mask part if you notice any deterioration such as tears or cracks over its surface. Structural damage over your mask cannot be repaired and it means that you should replace the mask or its damaged part as soon as possible to ensure its proper performance.

Inspect your CPAP equipment regularly. If you notice holes or blocked passages in the mask, replace it as soon as possible.


You can find any mask spare part and complete mask replacements in our store. If we don’t have the part you’re looking for, we will either find it for you, or offer a better (and cheaper) alternative.


To clean or to replace your CPAP mask - article - How to clean your mask


CPAP MASKS STORE UK

Shipping worldwide


Please note that even with proper regular care and cleaning, your CPAP masks will eventually need to be replaced in about a year (depending on the specific mask model).


PRO TIPS


  • Try to make cleaning your CPAP masks part of your morning routine. It doesn’t take long, it is very beneficial for your therapy, it keeps you safe and healthy, and it prolongs the life of your expensive CPAP equipment.
  • Never use harsh chemicals, alcohol or bleach to clean your mask! (You can easily create a solution of vinegar and mild soap and water. That would be perfectly safe to use on your CPAP mask!)
  • Keep your CPAP machine and masks away from sunlight to avoid damaging them.
  • Set reminders for when you should replace your masks entirely as per the user guide.


The big DON’Ts

You should clean your mask daily but you should NOT use harsh chemicals, bleach, moisturizing soaps, scented oils or alcohol-based solutions when doing so!


The most effective manual way to clean your mask, mask hose, humidifier and filters is exactly with mild soap, warm water.


Mild soap and warm water - guide how to clean your cpap mask


When you’re sick

Wash your mask, tubing, filter and even the humidifier if you are sick, especially if suffering from an upper respiratory infection such as the flu or COVID-19.


Are there machines that can clean your CPAP mask instead of you doing it manually?

Yes, not only are there dedicated CPAP mask cleaning machines, but they are also a very popular choice among sleep apnea patients. Manual cleaning will remove dirt and dust from the surface of the mask and hose, but may fail to sanitize the parts thoroughly, removing the rest of the dirt, oils, smoke or other harmful residues from deep inside the components.


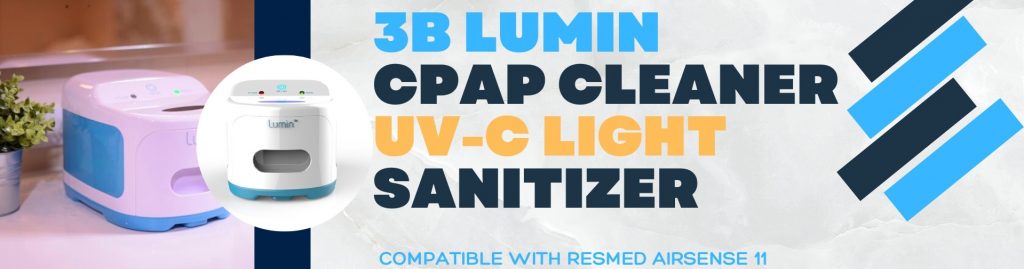
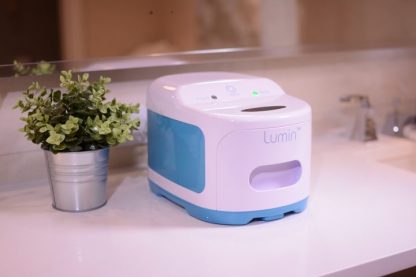
The most popular models CPAP cleaning machines for 2023


This bestselling 3B Lumin CPAP Sanitizer CPAP sanitizer machine takes only 5 minutes to thoroughly clean your CPAP mask by terminating all the harmful bacteria and remove any dust or oil spots that have built inside your mask. Unlike CPAP cleaning machines that use ozone gas (or activated oxygen) to clean CPAP equipment (often voiding the manufacturer’s warrany doing so), the 3B Lumin CPAP Sanitizer uses UV (ultra-violet) light instead with the same – and even better – result.


3B Lumin CPAP Sanitizer


<<<Check out 3B Lumin here>>>


SoClean CPAP cleaner machine
SoClean CPAP sanitizer / cleaner machine

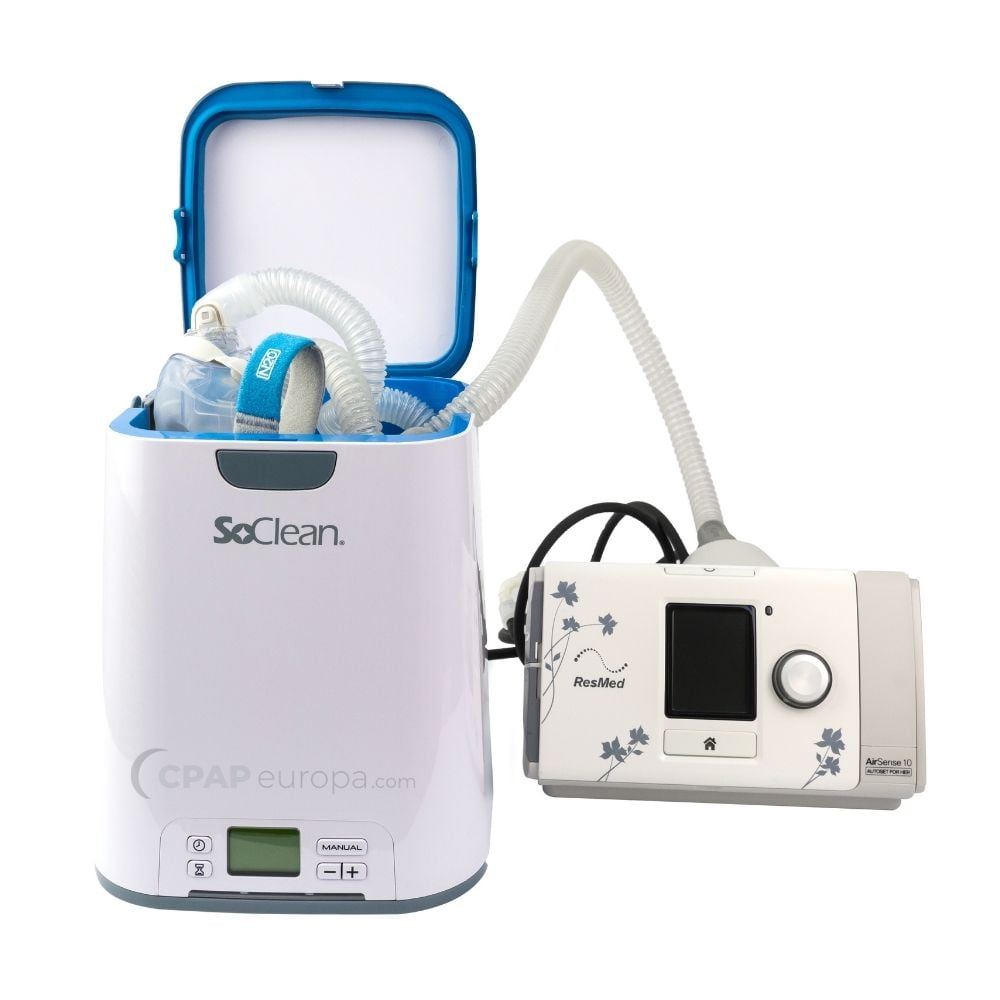
SoClean is a CPAP sanitizer devices that uses ozone gas to disinfect CPAP masks.


Read our article on how to clean Airsense 11 with SoClean and if it is a good idea here.


Leave a comment

How tо clean Resmed AirSense 11 CPAP


Wondering how to properly clean your brand new ResMed AirSense 11 CPAP? Maybe you just started using the brand new white-and-black beauty of a CPAP, but it is already a bit dirty and you want to care for it the right way. Today we will tell you everything you need to know about all the safe ways to clean your CPAP without voiding its warranty or damaging its parts. 
It actually is really simple. And the benefits from cleaning your expensive CPAP equipment are not only protecting your investment, but also ensuring optimal sleep apnea therapy and general health.


Here’s how you can clean the ResMed AirSense 11 CPAP 


PREPARATION


  1. Always unplug the machine before cleaning. Important: Ensure all parts are dry before plugging it back in;
  2. Disassemble the humidifier from the main unit (if you initiate the cleaning soon after using your AirSense 11, allow the humidifier to cool before removing it from the AirSense 11);
  3. Open the humidifier tub and discard any remaining water;
  4. Gently plug away the hose attached to the back of the AirSense 11 CPAP device;
  5. Disconnect the air tubing from the mask;
  6. Locate the outlet connector on the inside of the AirSense 11 and release it. Remove the connector from the outside of the device.

ResMed AirSense 11 CPAP ClimateLineAir Heated Tube


THE TUBING


After removing and emptying the humidifier, wash the AirSense 11 Standard Water Chamber (Humidifier) air tubing and outlet connector in warm water, using mild, liquid soap.


Important
: do not use hot water when cleaning the AirSense 11 parts. Use warm water instead. The temperature of the water should not exceed 65 C or 149 F.

Do not clean the power cord, especially with water and other liquids.


Power Supply and Cord for AirSense 11 - CPAP Shop Europa

Resmed AirSense 11 CPAP AC Power Supply Cord

RINSING AND DRYING


Be sure to rinse each component thoroughly. When you’re done cleaning the important parts, allow each component to dry out of direct sunlight or direct heat.


When the humidifier, air tubing and outlet connector are dry, you can reassemble the components, re-attaching them to the main AirSense 11 device.


Make sure the outlet connector is correctly aligned when plugging it back to the device. The seal should point directly to the left and the clip pointing forward. You will hear a satisfying click when you plug the connector back into the socket. Connect the air tubing firmly to the connector you just re-attached back the to the AirSense 11 device.


How to clean the Resmed AirSense 11 Humidifier

AirSense 11 Water Chamber (Humidifer)


BEFORE REATTACHING THE HUMIDIFIER 


Open the humidifier tub and fill it with distilled water at room temperature. (Do not use tap water to ensure proper functioning of the device and avoid gradual damage over time). Fill the humidifier to the maximal water level mark. Close the tub and insert it back to the device.


CLEANING THE AIRSENSE 11


You can wipe the exterior of the AirSense 11 device with a clean cloth or CPAP wipes. Needless to say, avoid exposing the device to water.


  • Remove dirt and dust components using  a solution of 1 part household vinegar to 10 parts water;
  • Regularly inspect the air tubing and humidifier for any cracks or surface damage. Replace them if you find cracks or deterioration.


AirSense 11 Autoset with Humidifier (Water Chamber) BUNDLE

Shop AirSense 11 BUNDLES  Complete sets: CPAP+Mask+Humidifier)


TIME FOR THE FILTER


Regularly check the AirSense 11 air filter and replace it if you find any holes or blockages. The AirSense 11 filter should be otherwise replaced every six months to avoid bacterial or fungal buildup while also ensuring its proper functioning. Replacing the filter is a child’s play: simply remove the cover on the back of the device and remove the dirty filter. Place a new air filter on the designated space on the cover, and place the cover.


Please note:
The AirSense 11 air filter is not washable or re-usable, and should be changed when damaged or on schedule every six months.


Resmed Airsense 11 Replacement Filter


ASSEMBLING IT ALL BACK TOGETHER 


After all of the components have dried off, assemble the machine carefully. Plug everything back the way you disassembled it, and only then plug the AirSense 11 to its power source. Repeat the procedure weekly to reduce the likelihood of you getting sick while ensuring that you always enjoy cleaner air when using the AirSense 11.


USING A DEDICATED CPAP CLEANER DEVICE


Did you know there are cheap CPAP machines and dedicated CPAP cleaners that do all of the above-mentioned CPAP sanitizing for you? All you have to do is put the CPAP, mask or mask parts in a box, wait for 5 minutes and take them out of the ‘oven’ clean and shiny! With Lumin CPAP Mask and Accessories Cleaner all you need to do is just that — unplug your AirSense 11 from the power supply, put in inside the Lumin, and take it out clean! 3B Lumin CPAP cleaner utilizes UV-C light to kill bacteria, viruses and mold from CPAP equipment in a matter of minutes. You can read more about Lumin and purchase it here.


3B Lumin CPAP Cleaner UV-C Light Sanitizer


Hopefully, this AirSense 11 cleaning guide was useful and answered your questions. Should you have any additional questions about maintaining the new ResMed CPAP the right way, please do not hesitate to ask us directly via the chat! We are here to help!


SLEEP. BREATHE. LIVE

CPAPeuropa