deliveries for all orders over €150!
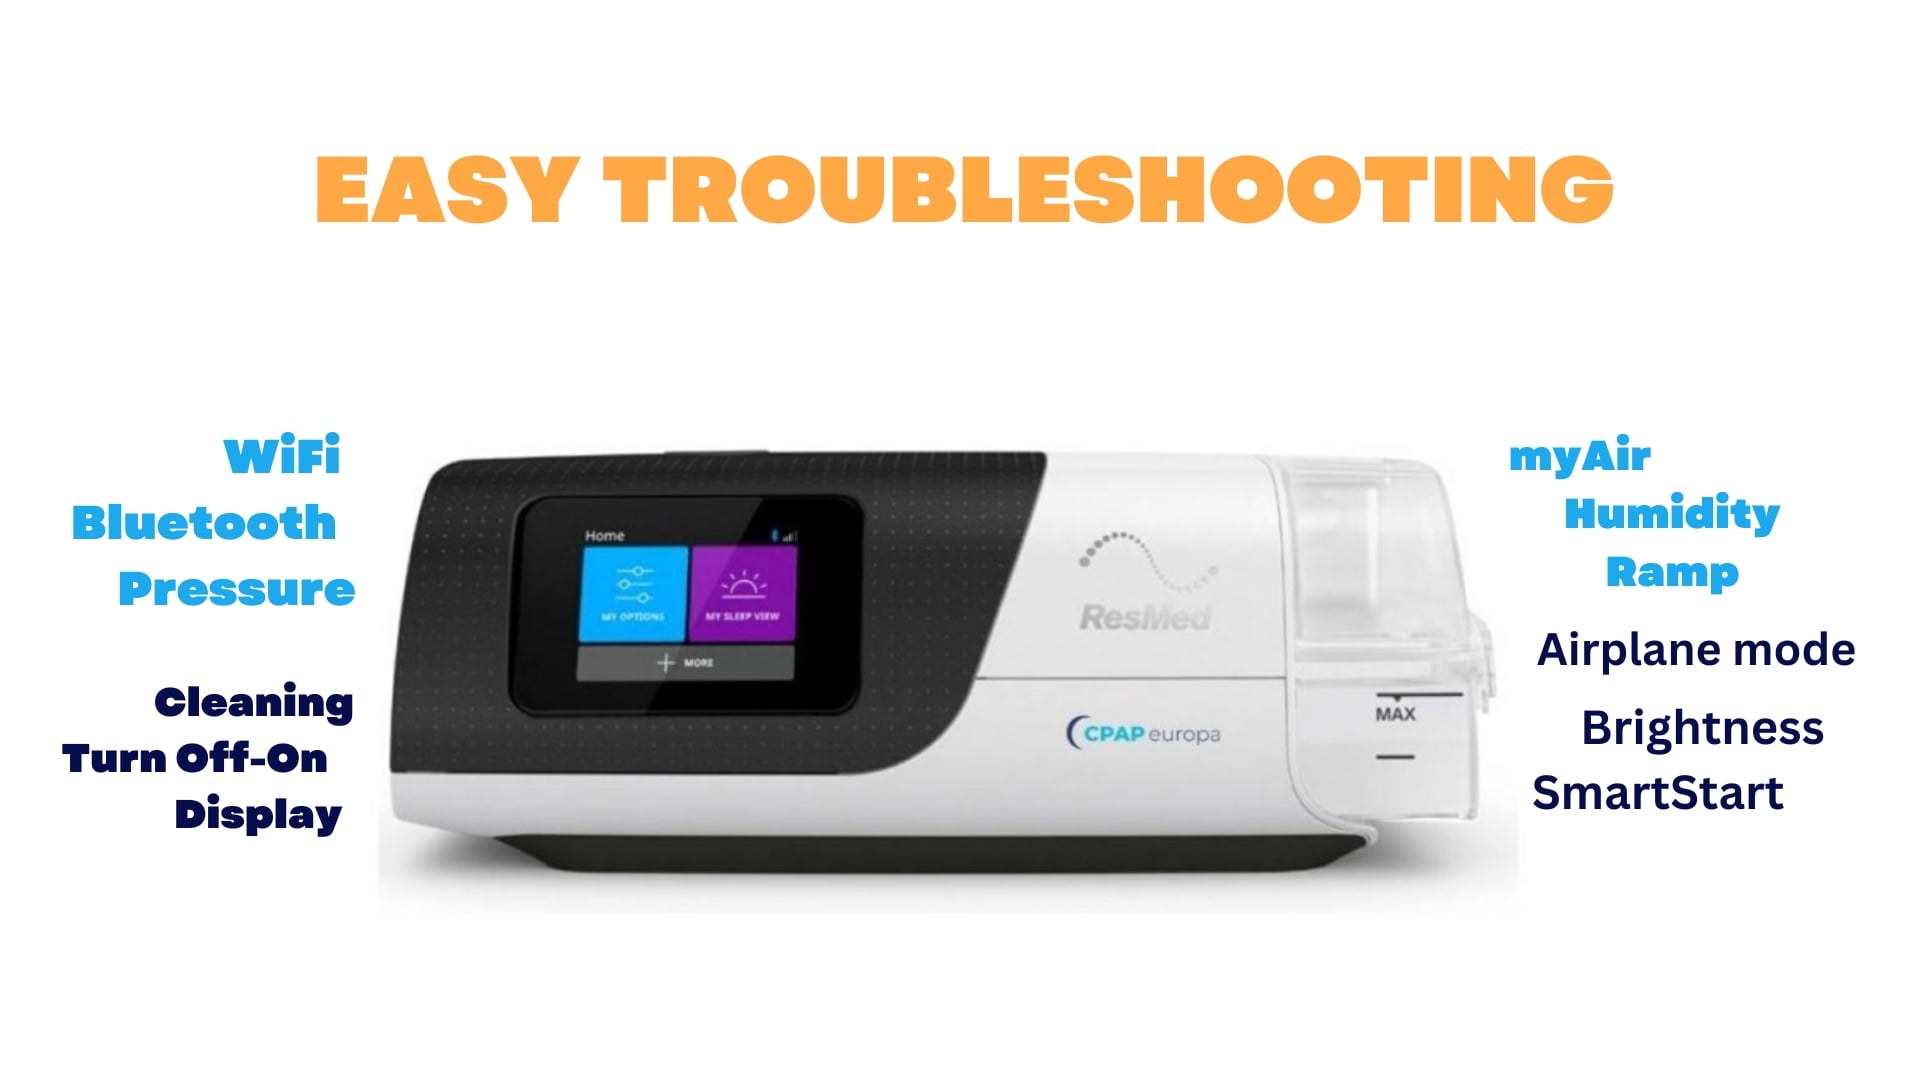
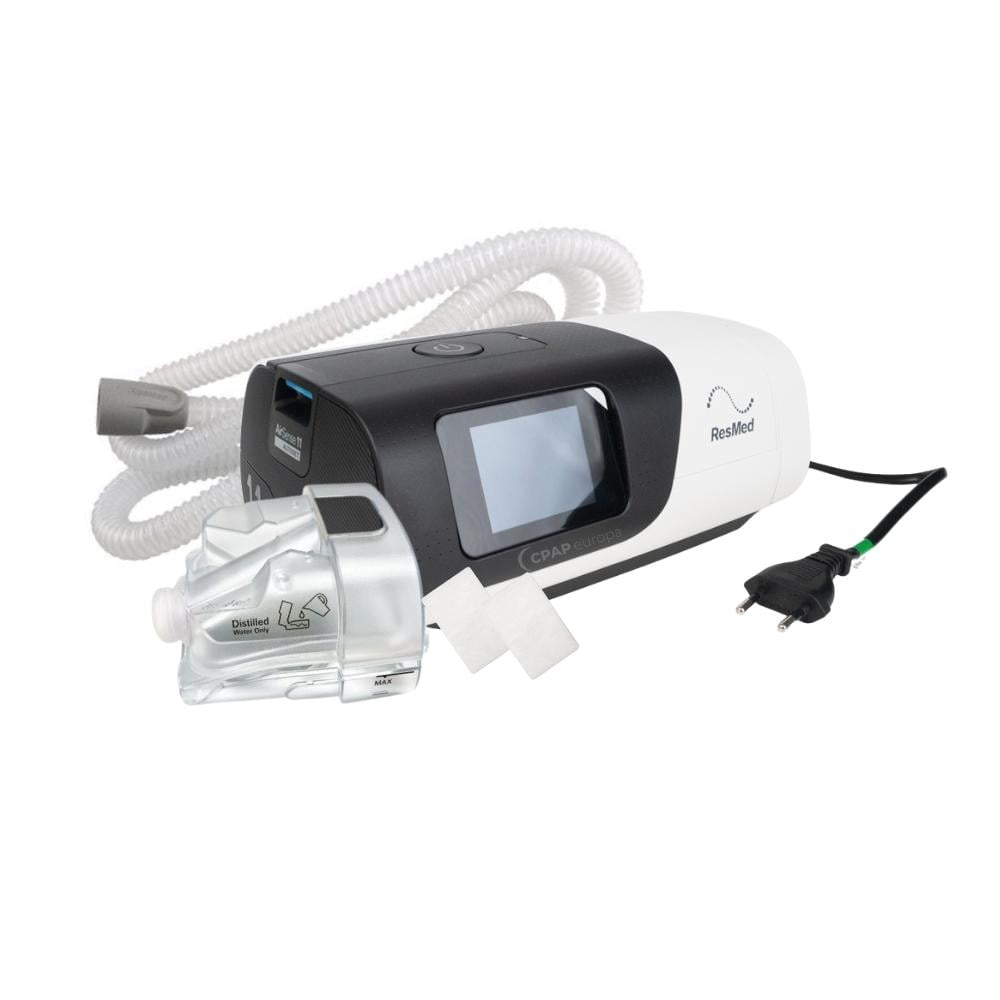
If you’re using the ResMed AirSense 11 for your sleep apnea therapy, you’re probably enjoying the benefits of a smart and comfortable device. However, like any technology, the AirSense 11 may encounter some issues from time to time. Before you call a technician, try these easy troubleshooting tips to solve common problems.
By following these tips, you can troubleshoot some common issues with your ResMed AirSense 11 AutoSet and enjoy a good night’s sleep with proper therapy.
However, if you still have problems or questions, you can always say Hi to Katerina in the chat in the right bottom corner of your screen.
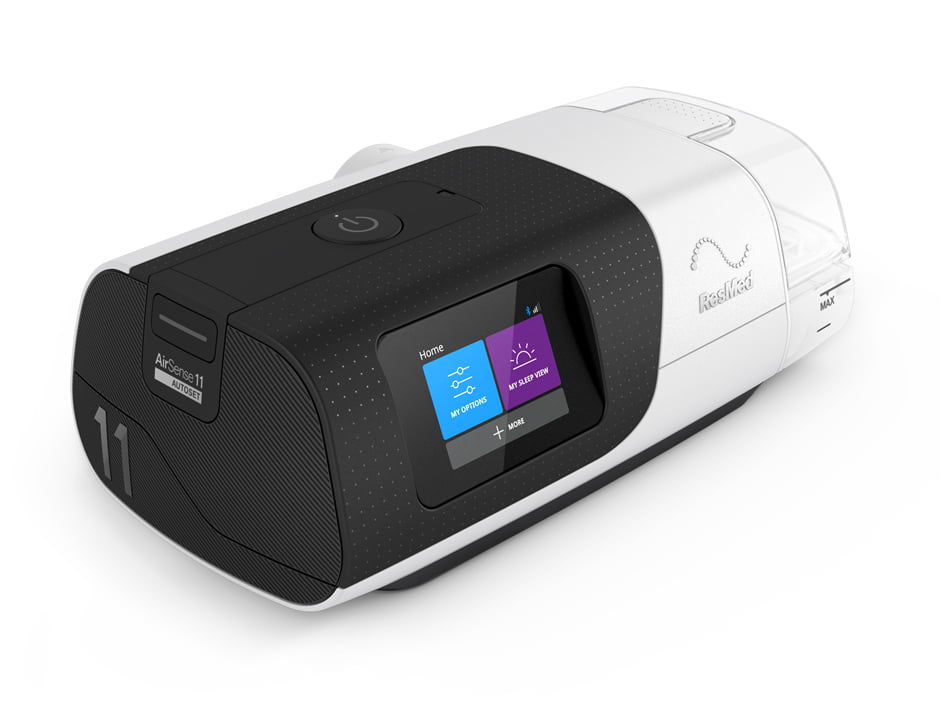
How to start therapy with the AirSense 11?
To start therapy, make sure you fit your mask properly. Then press the Start therapy/Standby button or breathe normally if SmartStart is enabled. The device will automatically adjust the pressure and provide warm and moist air through the heated humidifier to reduce CPAP side effects. You can monitor your sleep progress by clicking on the down arrow to view more details.
During therapy, the device may dim the screen or go black after a short period of time to save power. To turn it back on, simply tap the screen. If the power is interrupted, the AirSense 11 will automatically restart the therapy when power is restored. The screen brightness is also adjustable based on the light in the room, thanks to the light sensor.
To stop therapy, remove your mask first, and then press the Start therapy/Standby button or wait until the device stops if SmartStop is enabled. The user-friendly display makes it easy to turn your ResMed Airsense 11 on and off.
How to easily Adjust Pressure and Settings
If you need to change the pressure or settings on your ResMed AirSense 11 CPAP Machine for better sleep therapy, here are some simple steps to follow:
 Swipe up or down on the screen to access the menu options.
- Select the parameter setting you want to update, such as pressure, ramp time, or humidity level. For other parameters, such as pressure relief or airplane mode, tap the parameter to turn it on or off.
 Swipe up or down on the screen to access the menu options.
Note: If you have received the device directly to your home, your prescription settings may not have been applied to your device. To enable your care provider to install the prescribed settings remotely, ensure a wireless connection has been established between the device and the provider.
If you have purchased your device from CPAPeuropa.com and have asked our doctors to set it up for you, there is no need to adjust the device’s pressure, ramp time and humidity levels.
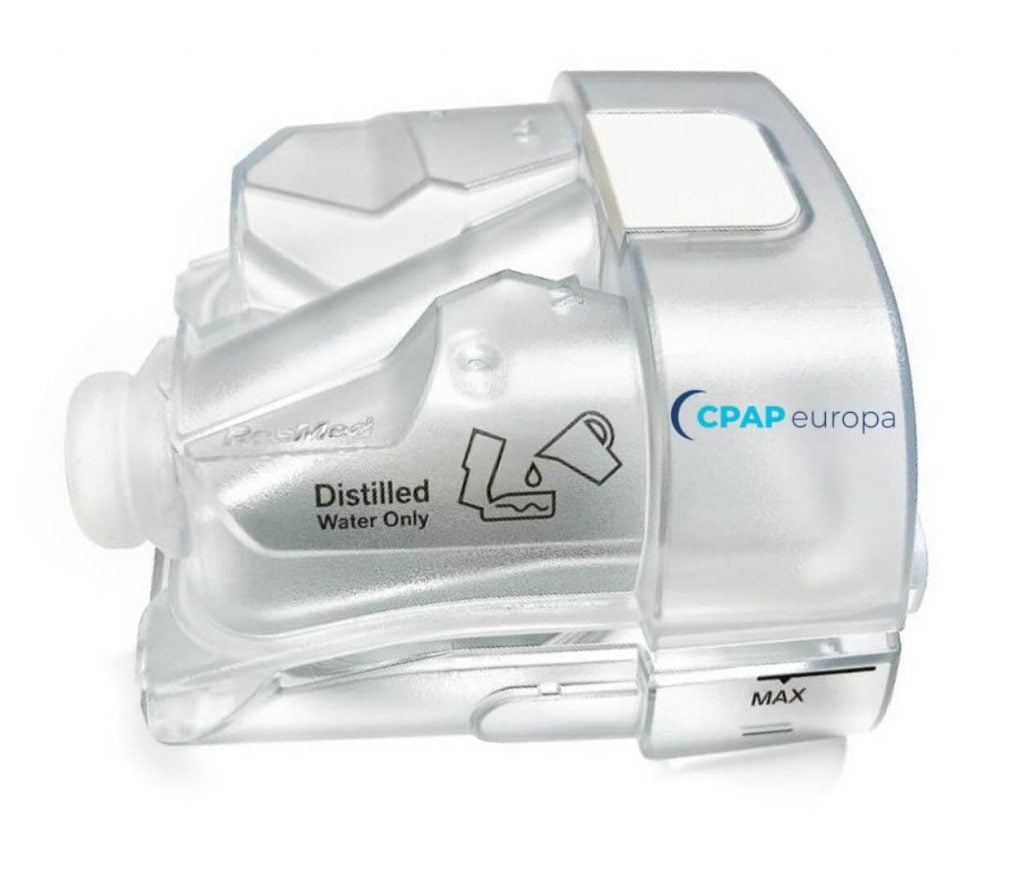
How to use the ResMed AirSense 11 without water
The ResMed AirSense 11 comes with a heated humidifier, but it’s not required for operation. Here’s how you can use it without water:
- Insert the water tub into the device and turn off the humidification feature from the My Options menu.
- If you don’t want to use the humidifier, insert a side cover into the device.
How to use Airsense 11 without connecting to Bluetooth and WiFi
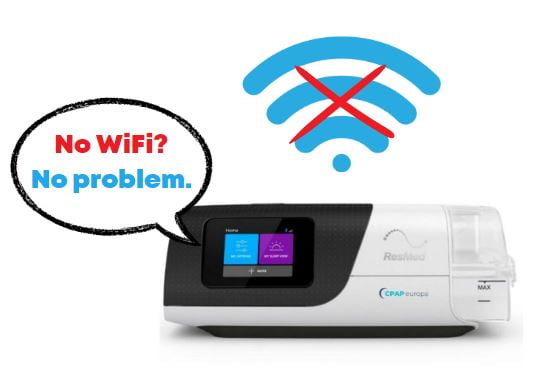
Connecting to Bluetooth and WiFi is easy with the myAir app. Here’s how to connect your ResMed AirSense 11 to Bluetooth:
- Make sure your device is correctly set up and plugged in.
- Launch the myAir app and continue.
- Follow the instructions in the app to complete the Bluetooth connection. Once the connection is successful, the Bluetooth symbol will appear on the status bar.
- Tap Done.
How to connect Airsense 11 to WiFi
Connecting to WiFi is also possible. Just follow these easy steps:
- Use the myAir app to start the Bluetooth connection.
- Once the connection is established, you can access your ResMed AirSense 11 via WiFi.
If your device is connected to the cloud, it will automatically download updates and upgrades to the ResMed Software. This can be done using Bluetooth, WiFi, cellular networks, or any combination of wireless technologies.
How to Clean the ResMed AirSense 11
To ensure optimal performance, it’s important to clean your device and do it properly. The humidifier tub, air tubing, and outlet connector should be cleaned as directed.
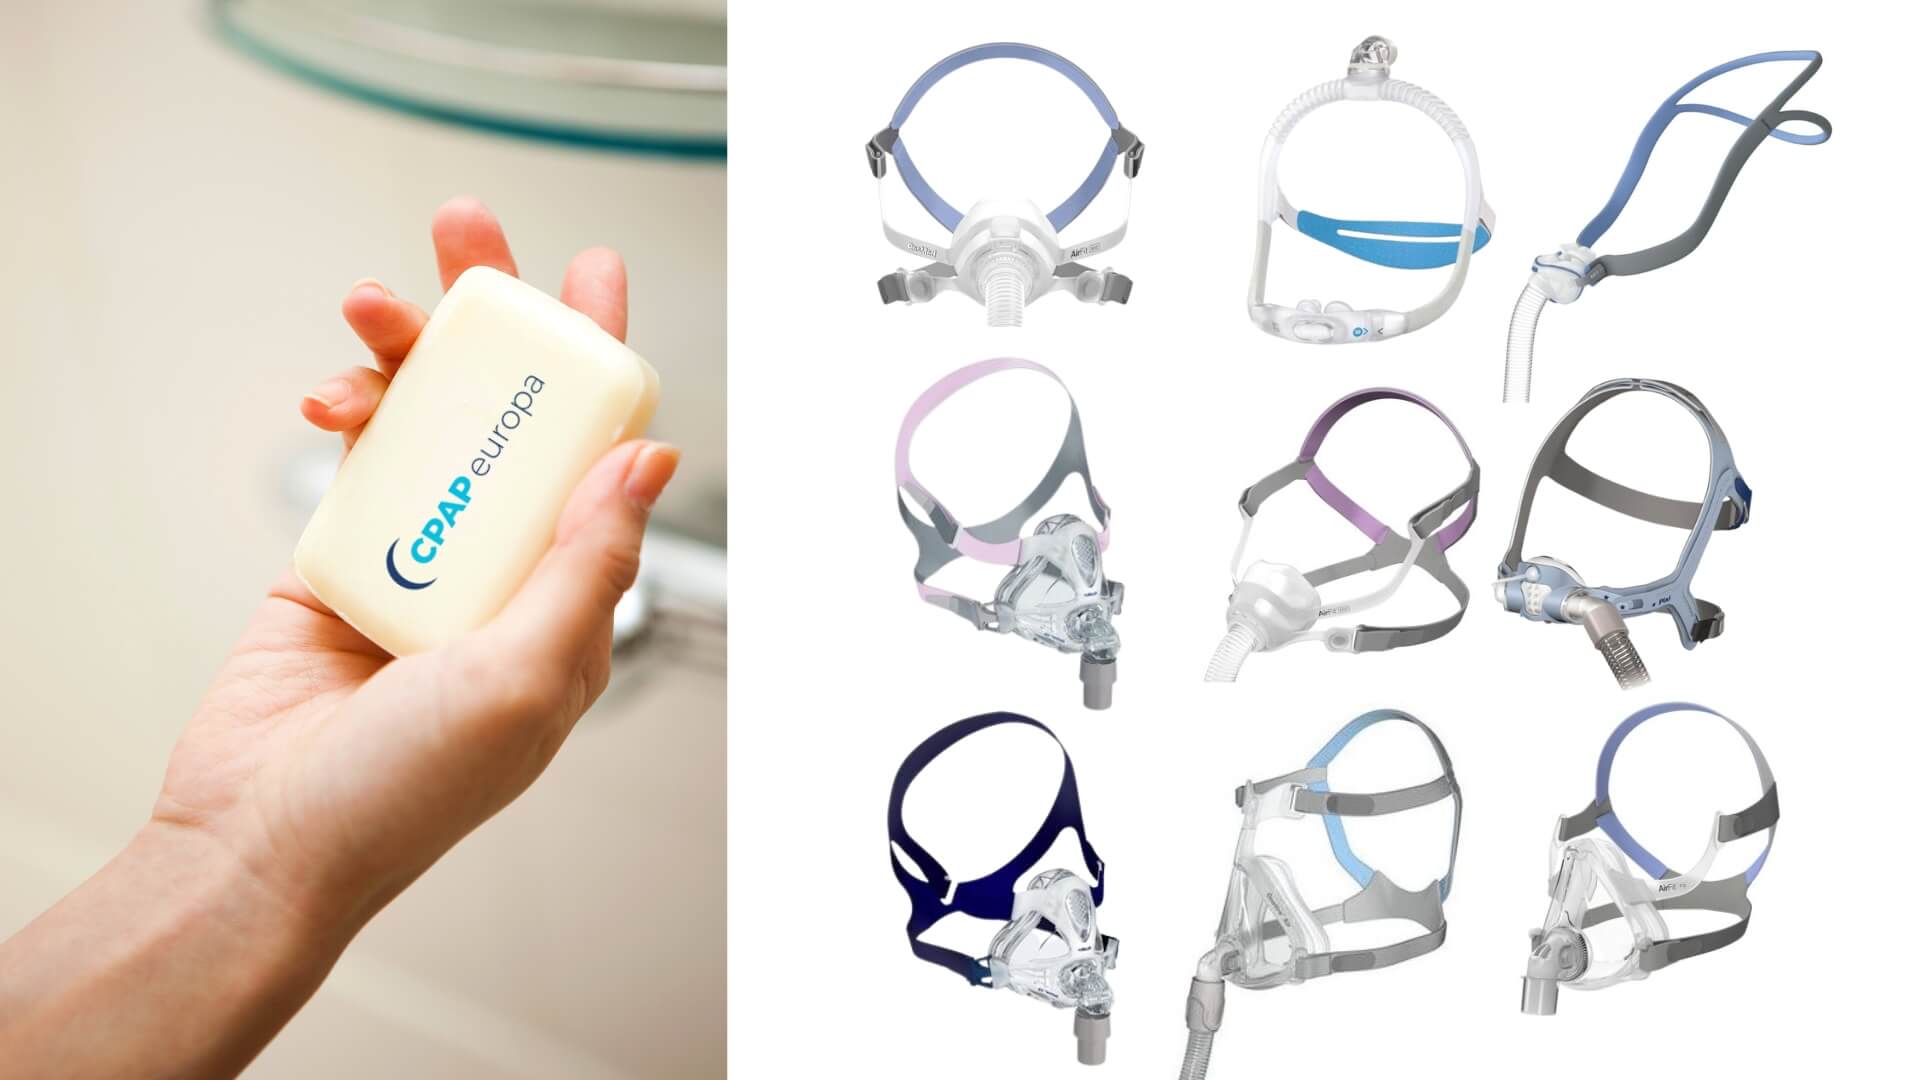
For mask cleaning, please refer to the mask user guide for specific instructions or read our short guide.
Also, check out CPAPeuropa’s extensive Airsense 11 Cleaning Guide here.
Daily cleaning:
Thoroughly wipe the humidifier tub with a clean, disposable cloth and allow it to dry away from direct sunlight.
Refill the humidifier tub with water.
Weekly cleaning:
Clean the air tubing in warm water with mild dishwashing liquid.
- Clean the humidifier tub and outlet connector either in warm water with mild dishwashing liquid or a solution of 1 part vinegar and 9 parts water at room temperature.
- Rinse each component thoroughly with water and allow them to dry away from direct sunlight or heat.
- Wipe the exterior of the device with a dry cloth.
The AirSense 11 Humidifier is not working
It’s recommended to refill your heated humidifier tank every two to three days. If you notice that the water level doesn’t decrease within this time frame, you may need to adjust the temperature and humidity settings. However, if the water level remains unchanged, it’s possible that the humidifier is not working properly and the hot plate underneath the water chamber may not be heating up. If such is the case, then you should either contact the distributor for repair, or purchase a new humidifier.
Resmed AirSense 11 Replacement Humidifier
My AirSense 11 is not working. What should I do?
If you’re facing issues with your Airsense 11 CPAP machine, it can be frustrating and affect the quality of your sleep therapy. However, there are several steps you can take to troubleshoot and potentially resolve the problem before seeking professional assistance. Follow the troubleshooting steps below to get your Airsense 11 CPAP working again:
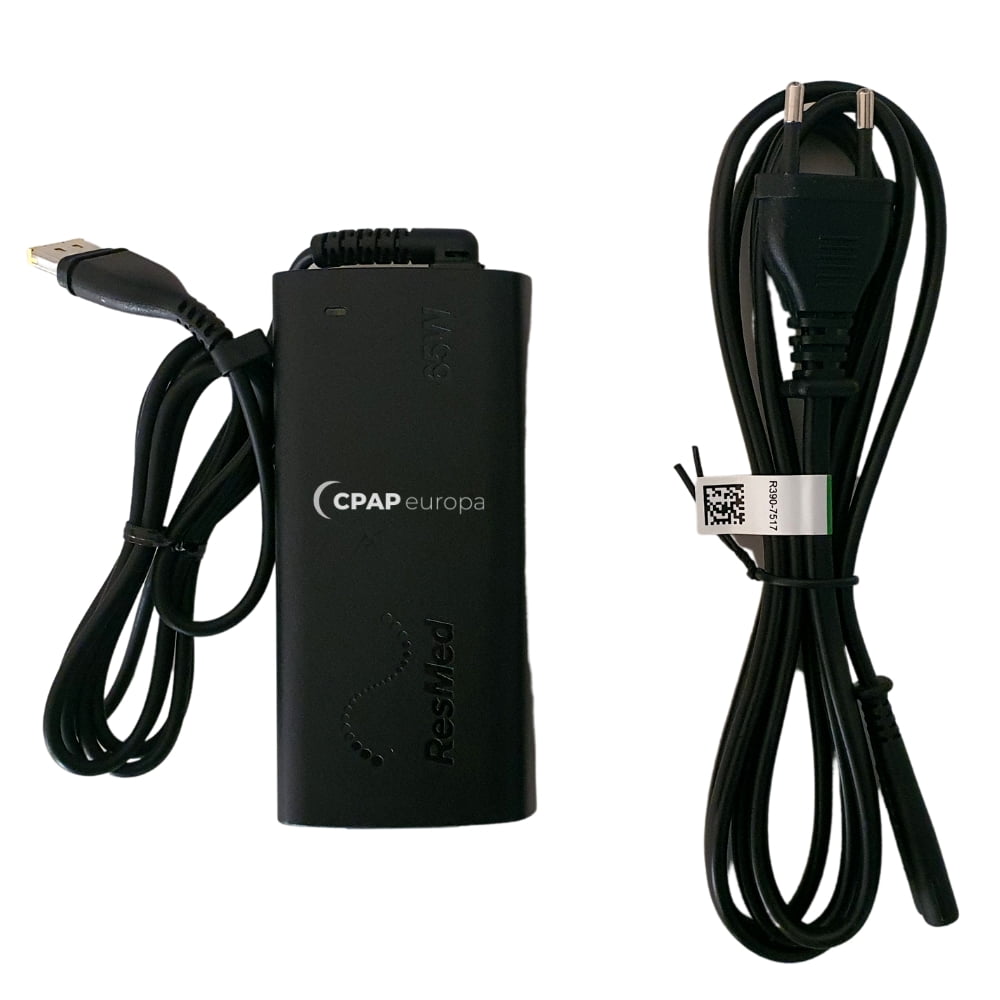
- Check power supply: Ensure that the power cord is properly connected to both the CPAP machine and the power outlet. Confirm that the outlet is functioning correctly by plugging in another device.
- Reset the device: Sometimes a simple reset can fix minor issues. Disconnect the power supply, remove the water chamber, and detach the mask. Wait for at least 30 seconds, then reconnect everything and power it on again.
- Check for error messages: If your CPAP machine displays an error message or code, consult the user manual or the manufacturer’s website to understand its meaning and follow the recommended troubleshooting steps.
- Clean and inspect the components: Regular cleaning and maintenance are crucial for proper CPAP functioning. Remove the water chamber, mask, and tubing. Wash them with mild soap and warm water, then rinse and allow them to air dry completely. Inspect all components for any signs of damage or wear.
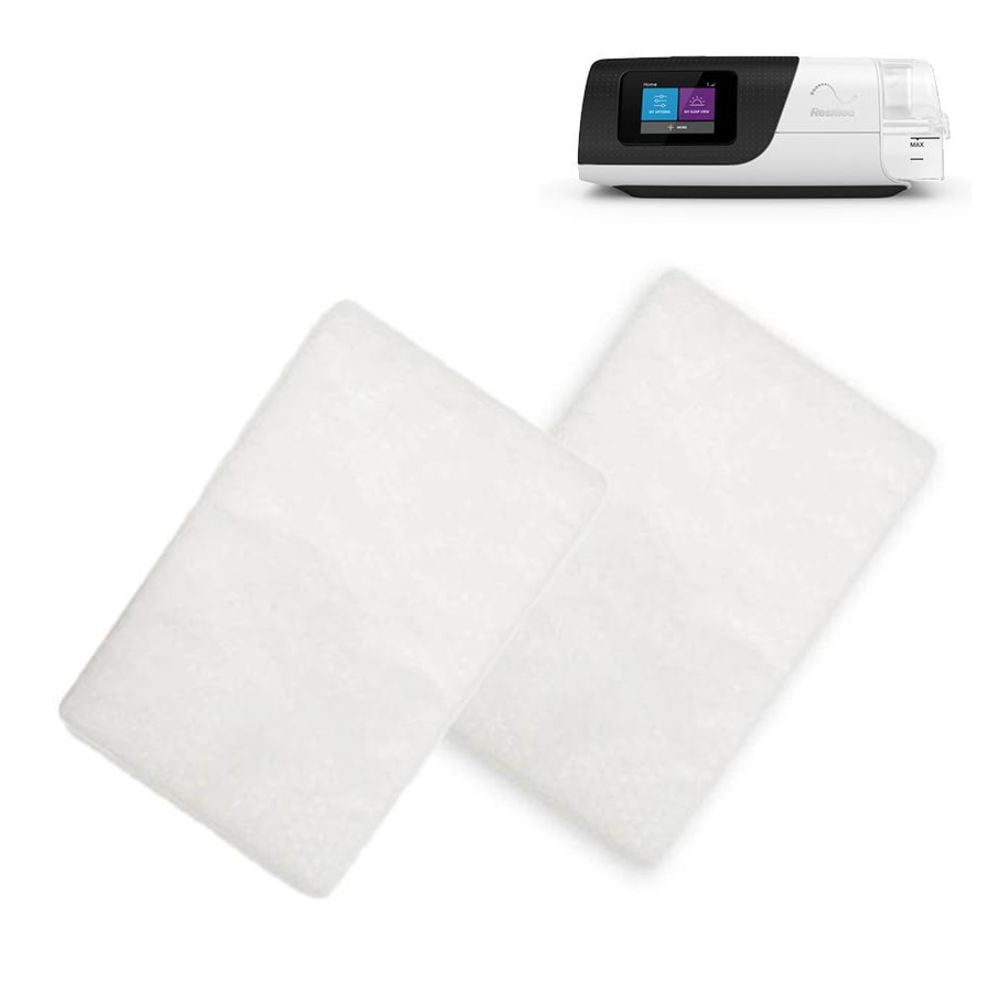
- Replace consumables: Certain components of the CPAP machine require periodic replacement. Check the air filter and humidifier chamber for clogs, damage, or discoloration. Replace these components if necessary, following the manufacturer’s instructions.
- Check for leaks: Ensure that the mask is properly fitted and there are no air leaks. Adjust the straps as needed and try different mask sizes or styles if leaks persist. A poorly fitting mask can cause discomfort and disrupt therapy.
 Contact CPAP Europa’s customer support if you have purchased your AirSense 11 from our CPAP store: If none of the above steps resolve the issue, reach out to our customer support for further assistance. We can provide specific troubleshooting advice or arrange for repairs or replacements if necessary.
Remember: It’s important to consult the user manual provided with your Airsense 11 CPAP machine for detailed instructions and specific troubleshooting steps. If the troubleshooting steps don’t resolve the issue, or if you are unsure about any steps, it’s recommended to seek professional help from the manufacturer or a certified CPAP technician.
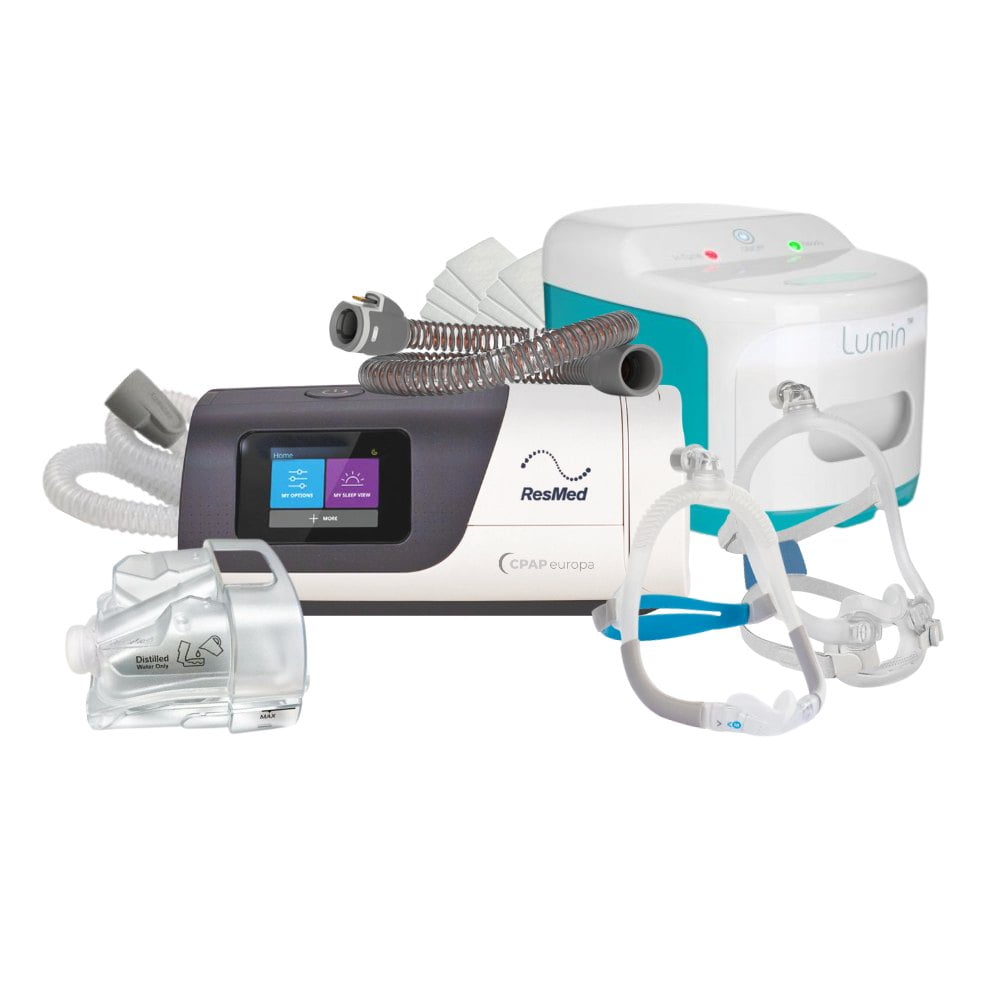
CPAPeuropa offers the ResMed AirSense 11 and a knowledgeable staff that can guide you through the CPAP machine selection process. We also carry essential supplies, including CPAP masks, tubing, and cleaning accessories you may need for your therapy.
![]()